By Vanessa Francisco, | January 18, 2017
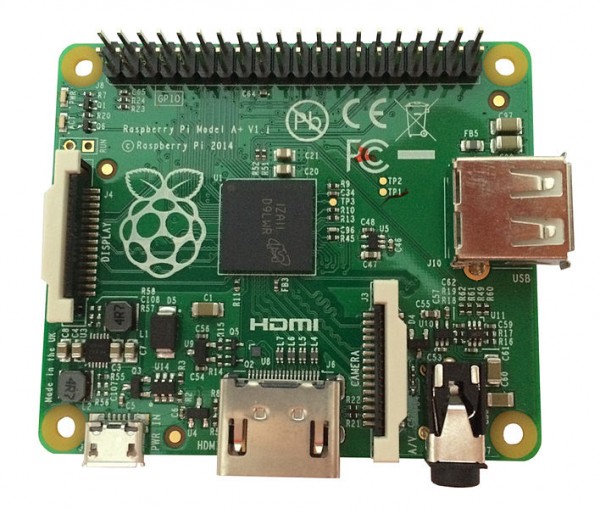
The Compute Module 3 is based on the Raspberry Pi 3 hardware. (Florian Frankenberger/CC BY-SA 4.0)
The Raspberry Pi Foundation has launched the original Compute Module successor, the Compute Module 3.
The first Compute Module was released in 2014, and it was based on the original Raspberry Pi and Broadcom BCM2835 chipset. The Compute Module 3, on the other hand, is based on Raspberry Pi 3 hardware - that is why it is named 3 even if it is only the second version.
Like Us on Facebook
The Raspberry Pi Compute Module 3 comes with four-core, 64-bit Broadcom BCM2837, 1 GB of RAM, and 4 GB of flash storage. It is less than half the size of the Raspberry Pi 3 with no sockets for the Ethernet,USB, SD card and display. It does not support WiFi as well.
Aside from the Compute Module 3, the Raspberry Pi Foundation has released the Compute Module 3 Lite which sports similar specs as the Compute Module 3 but with no 4 GB flash storage. However, an eMMC device or eMMC device may be added to the base board. The Compute Module 3 costs $30 while the Compute Module 3 Lite is priced at $25. Along with these, the Raspberry Pi Foundation also released the Compute Module IO Board V3, HDMI connectors, a circuit board with USB, and SODIMM socket which is needed to work with the Compute Module 3.
While the Compute Module 3 is smaller, cheaper and more powerful, creator Eben Upton predicts that it will be like a "slow burn" compared to the Raspberry Pi 3 because it is not for home or school use. It is for industrial application.
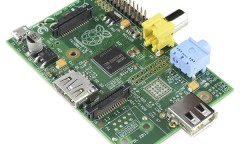
Meanwhile, users who want to build their own home media system can do so through Raspberry Pi. To build a home media system, you need Raspberry Pi 3, Raspberry Pi case, Ethernet cable, HDMI cable, Micro SD memory card (at least 8 GB), Power adapter and Power supply. These items can easily be bought in a complete kit at Amazon. First, set up Kodi in your Raspberry Pi on a flat and static-free spot. Place the Raspberry Pi inside and tighten the screws. OSMC is the preferred OS by many people because of better user experience and easy configuration. Once the setup is done on the Raspberry Pi, you can do anything with it just like on a computer.
-
Microsoft Surface Pro 5 Release Date Update: 4K Display, 3D Support, and 3 Processor Models
-

Samsung to Announce Cause of Galaxy Note 7 Explosions
-

Apple MacBook Pro vs Microsoft Surface Book: Is it Worth the Switch?
-
How to Build a Home Media System and Install Kodi on Raspberry Pi
-

Samsung Galaxy J7 2017 Smartphone Spotted on Geekbench Running on Android Nougat


-
Use of Coronavirus Pandemic Drones Raises Privacy Concerns: Drones Spread Fear, Local Officials Say

-
Coronavirus Hampers The Delivery Of Lockheed Martin F-35 Stealth Fighters For 2020

-
Instagram Speeds Up Plans to Add Account Memorialization Feature Due to COVID-19 Deaths

-
NASA: Perseverance Plans to Bring 'Mars Rock' to Earth in 2031

-
600 Dead And 3,000 In The Hospital as Iranians Believed Drinking High-Concentrations of Alcohol Can Cure The Coronavirus

-
600 Dead And 3,000 In The Hospital as Iranians Believed Drinking High-Concentrations of Alcohol Can Cure The Coronavirus
-
COVID-19: Doctors, Nurses Use Virtual Reality to Learn New Skills in Treating Coronavirus Patients
